![logo icon white.png]](https://help.hijiffy.com/hs-fs/hubfs/logo%20icon%20white.png?width=50&height=50&name=logo%20icon%20white.png)
In the Widgets menu you can add new widgets or customize existing ones.
During the setup, the Customer Success team will create the widget(s) according to your website page.
The widgets created depend on the physical design or your website page(s).
The most common setup is to create one widget per website.
Customize your widget
- Access the "widgets" menu in the console - here
- Select the widget that you want to customize from the list of existing widgets

- See the following tabs, where you can edit various widget features

Basic Tab

- Widget Name: Name of the widget in the console (not visible to users)
- User teams: Choose which teams should have access to conversations coming from this widget
- Chatbot: select the chatbot that you want to link to this widget
- Properties: select the properties that should be displayed in this widget
The properties you select need to be part of the chatbot selected.
- Facebook page: When your users are logged in on Facebook, the widget will load Messenger widget with this page associated
-
Domains: Choose in what domains this widget should be displayed
-
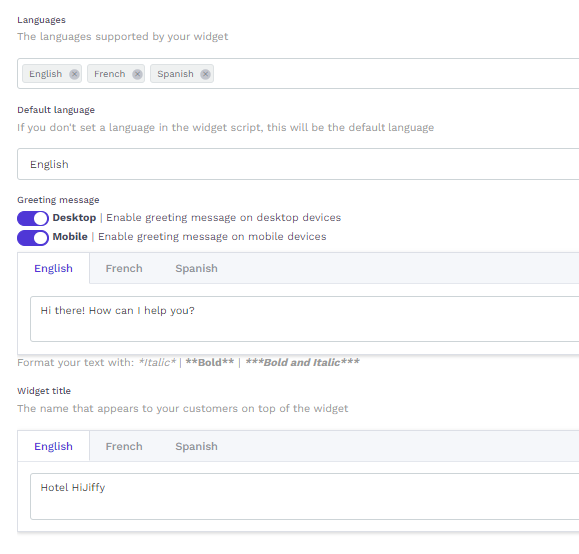
Languages: Choose the languages that the widget should support
The languages that you select in this section should be the same ones as you have chosen in the "Main Settings" of the chatbot menu.
- Default language: Choose the language that should be used by default, in case the chatbot can't identify the language or if it is not part of the setup
The default language that you select in this section should be the same ones as you have chosen in the "Main Settings" of the chatbot menu.
- Greeting message: Enable or disable the greeting message from the widget and edit the message as you wish

Note: The translations are not done automatically, you have to edit per language
- Widget title: Choose what title you want your chatbot to have

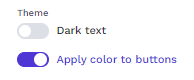
Customization Tab
- Choose the theme of your buttons and chatbot
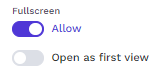
- Fullscreen: choose the option of allowing a fullscreen view or/and to open it as a first view when the user clicks on the widget
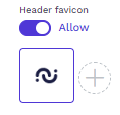
- Add a "Header favicon" (example: hotel logo)

- Choose/Add the widget format, icon and chatbot avatar

- Define how the language should be detected by the chatbot

Browser: the chatbot will interact with the user using the language of the user browser (if configured in the chatbot and widget menus). If not, it will use the default language
Website: the chatbot will interact with the user according to the language of the website page the user has chosen.
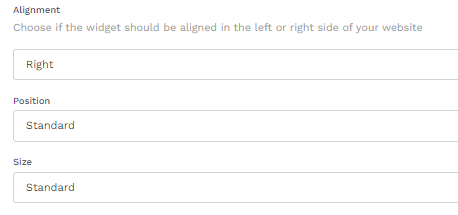
- Choose the alignment of your widget
If needed you can customize the positioning of the widget in the mobile:

Save changes, always!
Schedule Tab
Available for Pro, Premium & Entrepise subscriptions only
- Choose the hours and days of the week when the widget should be active on the website.
- You can also select specific days when you want the widget to be desconected from the website.

We strongly recommend to keep the widget active 24 hours a day, 7 days a week!
Script Tab
- Widget Script
The script to be installed in all pages of the website (according to the domain you have set up in the Basic tab)
There is no need to change anything in the script, you just need to copy-paste it
How to install the widget script through Google Tag Manager?
- Booking Pixel
In order to be able to keep track of the bookings generated with the help of the chatbot, we kindly ask you to install a conversion pixel in your booking engine, that should fire our code when there is a booking
Click here to learn more
How to install the booking pixel through Google Tag Manager?